Illuminated Cards
How I Make Illuminated Cards
Created Apr 22, 2024 - Last updated: Apr 22, 2024
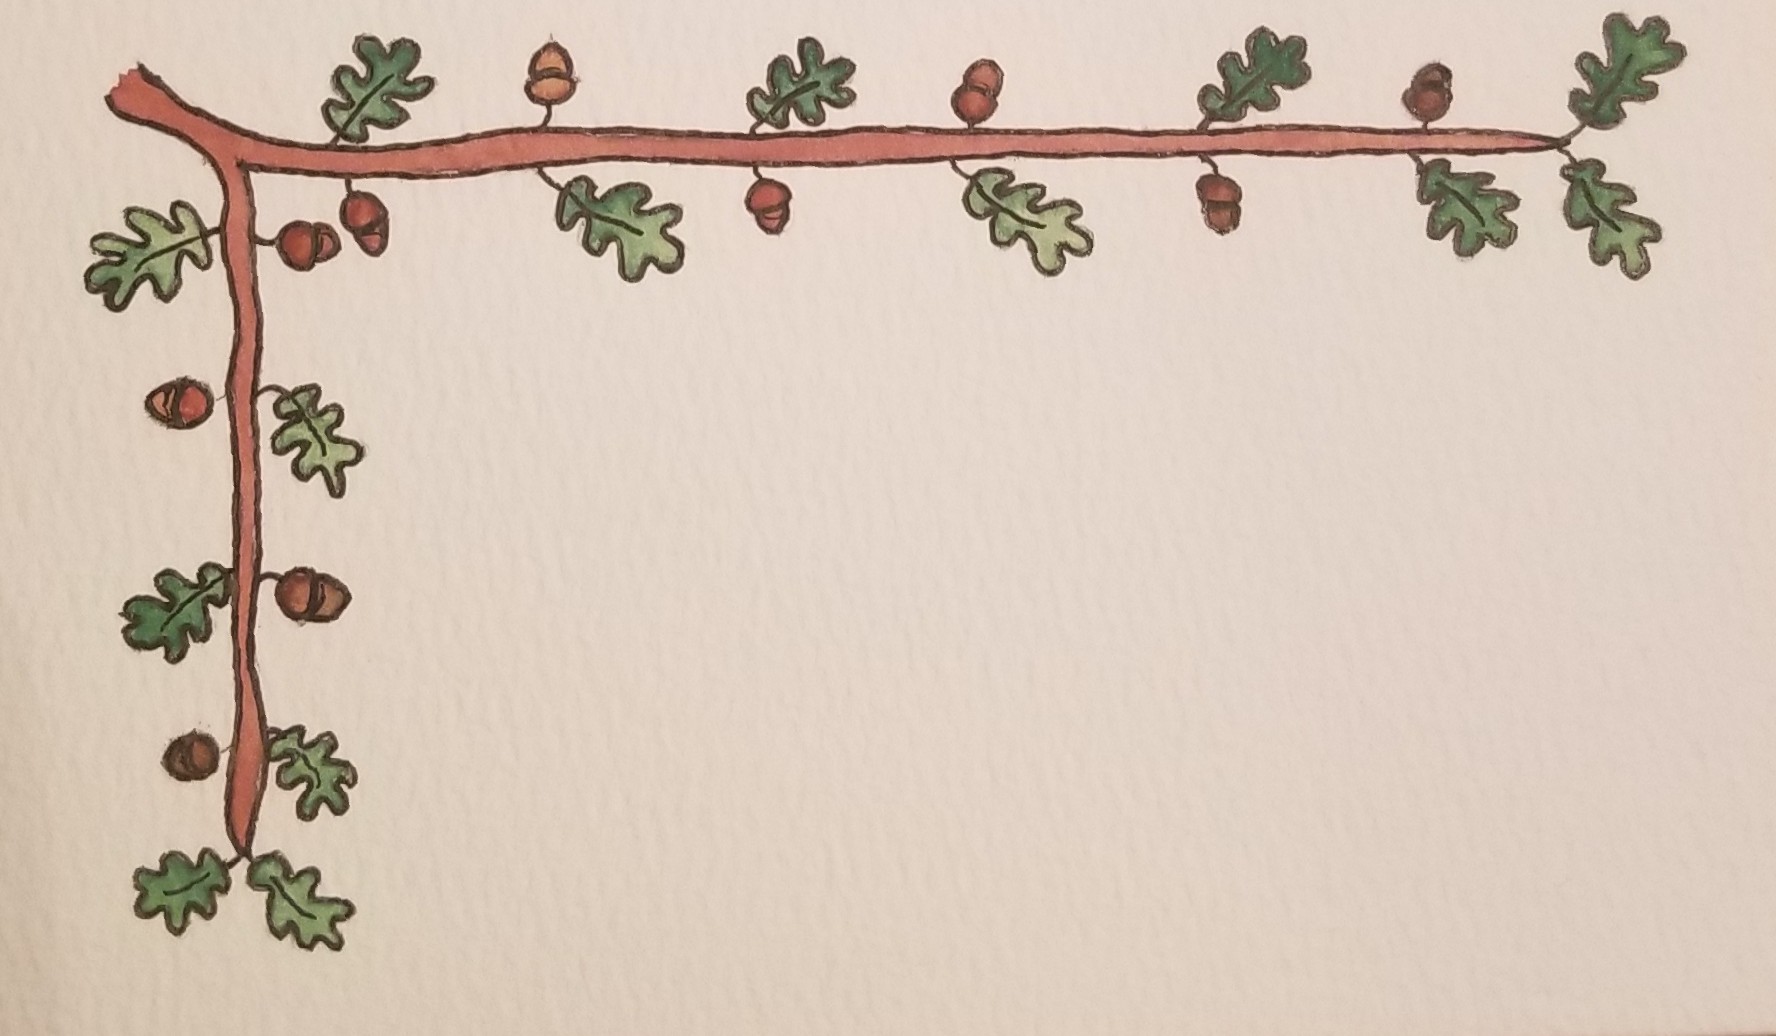
I am spearheading a project to make 3"x5" illuminated cards my medievalist society non-profit chapter can hand out while doing public outreach. Currently we don’t produce very many of them, so they’re primarily given to children. Before we hand them over, a calligrapher scribes the recipient’s name in a calligraphy hand in the empty space on the card. The card is tucked into a protective sleeve with a slip of paper behind it bearing contact information for our local chapter and parent/grandparent organizations. We usually also include information about our neighboring chapters because people will come from across the local region.

Example Card
So, how do I make them?
The Materials
This is not a high-profile project. We’re not making a hand-made award certificate, we’re sending these home with children and who knows what will happen to them after they leave our hands. Therefore, we’re not terribly concerned with materials quality, nor adherance to scribal norms. This is a warm-up exercise. An intro to scribal techniques with low overhead.
- Bristol paper or hot-press watercolor paper. Generic brands are fine.
- Colored pencils, watercolor pencils, watercolor paints, gouache paints, shimmer paints, markers. All good options. Crayons will be difficult due to the scale. I wouldn’t use anything that can smear or smudge easily (looking at you, stick pastels and chalk)
- For watercolor pencils and all paints: brushes. Small and extra small round pointed brushes will get it done. Water brushes will work admirably, especially if you’re taking this project out to the field.
- Fine-liner pens. You’ll use these to re-inscribe all of the lines once the color has been applied and is dry. I go for 01, 03, and 05 Sakura Micron pens but you do you.
- Light board and pencil
- Design templates
The Process
For each design I have, I sketched an original using medieval manuscript elements as references and once I had something I liked, I inked it using a fine-liner, scanned it, turned it into an SVG, tidied it up, added 3-inch by 5-inch boxes around each, and exported good-res versions to PNG. Four can print in a 2x2 arrangement on US letter paper. I keep a printed set with my lightboard and when they become too raggedy I can print a new set. I can also give these out to other local volunteers.
It’s a good idea to start with clean hands and use a plain sheet of paper to avoid resting your hands against the card surface. Keeping the card surface free of oils will make it easier for the scribe to do their part later on.
Lay your design template under your Bristol or watercolor paper and with the board illuminated, lightly trace the design lines in pencil. A graphite pencil with higher hardness will leave a lighter line.
Next, paint (or color) the design however you like. Too much water can make your paper buckle, so be judicious.
Once the paint is dry, go over all of the original lines with your fine-liner pen. You can also add some extra details at this time.
Keeping Your Cards Clean
I put each card in a protective sleeve the minute it’s dry and inked to keep it clean. These could be glassine or cellophane. You’ll want to order a size that is slightly larger than 3-inch by 5-inch so your cards will fit inside.